After I had finished all of the backgrounds for the animation I decided that I would try to help out with the animation by undertaking one of the what I thought would be a more simpler shot, how wrong I was. Later on Sorcha also introduced us to her firend Jamie from Flickerpix. Jamie is a rigging expert and was in to show us how to rig properly. While I was not doing the rigging for the animation I decided that I still wanted to learn how to do it as It might be something I use in the future. Therefore I joined in on the calls and tried my best to get a rig up and going following Jamie's tutorials.
Shot 4 Animation
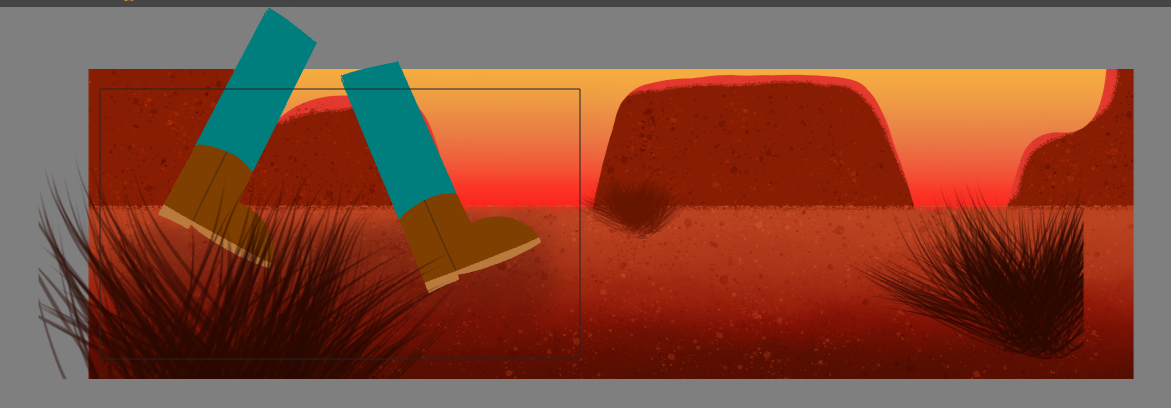
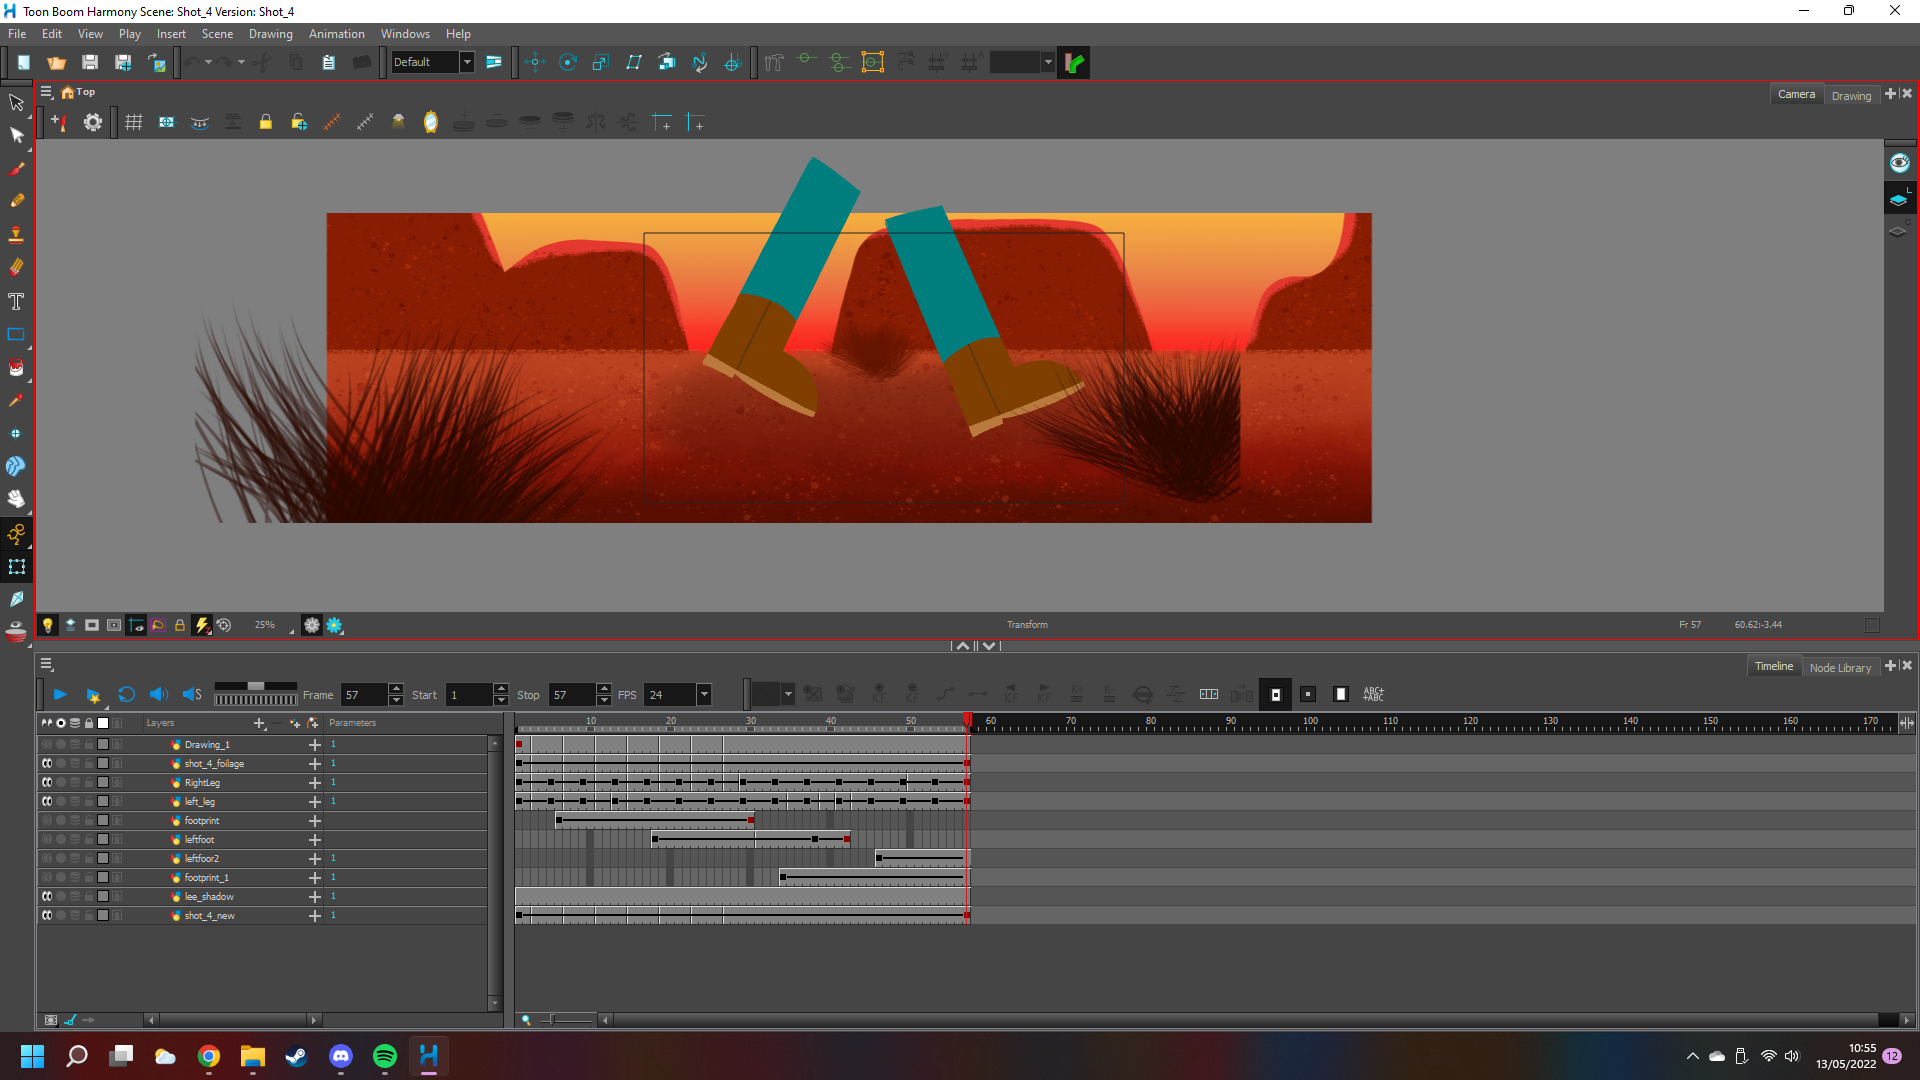
I first started by taking all my assets into ToonBoom. These included the shot 4 background I created and the foliage at the front exported onto its own layer. This means that Lee will be able to walk behind it. After this I needed only the bottom half of Lees legs as this is all that can be seen in the shot. Therefore I did a drawing from his knee down inside Toon boom, I then Duplicated this and used it for the other leg.
Once I had this done I was ready to start animating. I basically had to animate a walk cycle, but I quickly realised I only needed to add the key poses for them because ToonBooms motion tween function would do the rest for me. This was really helpful as it saved me a lot of time.
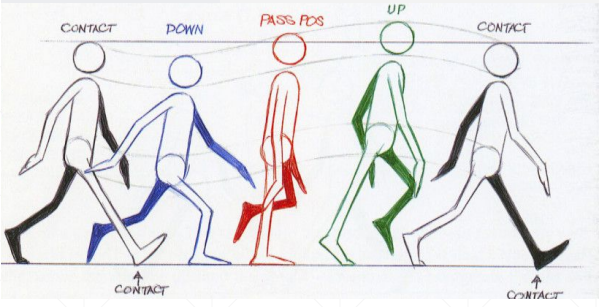
For my walk cycles I always use this basic diagram as help to make sure I get each of the key poses correct. This picture is from a lecture we had in the first semester. I'm not sure which module it was but I have kept it since and always go back to it every time I need to create a walk cycle just because it is really easy to follow.
To the right I have my first completed walk cycle. For my first attempt I was pretty happy with it. I showed it to Sarah and she had some feedback for me. She said that since its a walk cycle and I am only showing the bottom part of the leg, I can just do the cycle for one leg and then duplicate it and off set the timing and use this for the second leg. I never would have thought of this and it would have definitely saved me some time had I done it the first time around!
To the left I have my second attempt at the animation. I have taken on Sarah advice and duplicated the leg and off set the timing. I think this gives off a far better look as each leg follows each others movement. In my first attempt the left leg had this kind of of flick out at the end which I couldn't get rid of, but now because it is a duplicate it doesn't. Looks far better overall.
Looking at the animation I had this feeling that the legs didnt really look like they were in the world, rather just floating on top of it. So I set out to create some footprints so that it looked like Lee was having an affect on the ground he was walking on. I thought this would be easy enough but I was definitely wrong. Trying to time the creation and movements of the foot prints along with the feet and background was extremely hard to do. I think here it works okay but the footprints probably move far too fast.

In my last attempt at the shot I made some small changes to the footprints, Mostly just changing there timing and colour. Overall I think it has the desired affect of making it look like the legs are actually in the world but I just don't think the footprints look right. If I was too do this again I would probably start again and give a lot more attention to the footprints themselves. I think maybe slowing them down and maybe give them some kind of texture would help to give them more depth and therefore look more realistic.
Character Rigging
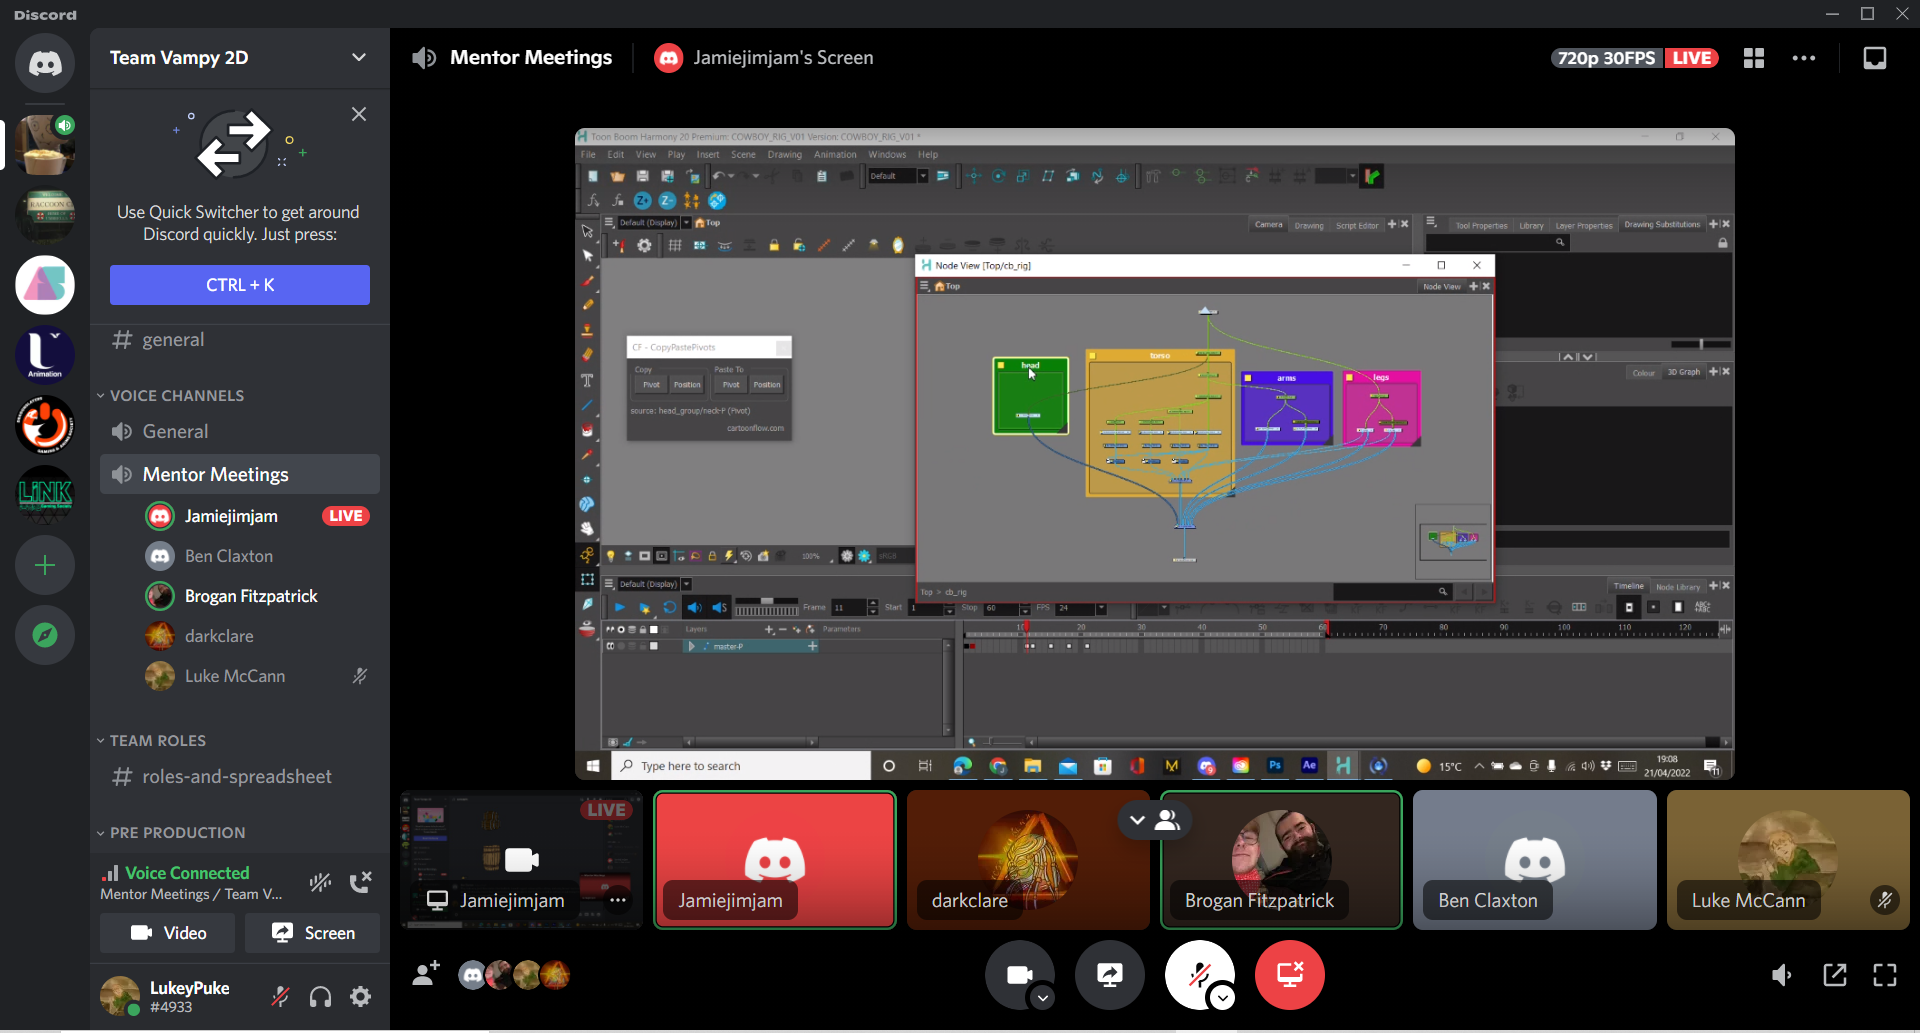
Claire and Bethany were having some trouble with rigging the characters, so Sorcha put us into contact with their friend Jamie from Flickerpix. Jamie's initial response was that we should move our character rigging to Adobe After Effects as it is a lot easier to do here and with the time we have left it is a far better way to start. Jamie also said that After Effects is used by a lot of companies for rigging and is a skill needed if you want to do this in the industry.
In our first meeting with Jamie he looked at ToonBoom and showed us some basic function inside the node editor that needed to be used when rigging a character. I find ToonBoom extremely complicated so most of this went straight over my head but it was interesting to see his work flow and how he goes about doing things. Jamie then also explained to us that the character needs to be separated out into different layers in photoshop, before it gets brought into the animation program. He also explained how different parts should be separated to make animation easier, such as the eye outline, pupil and the white back should all be sperate from each other.


Based off of Jamie's advice and a quick discussion with the group it was decided that I would separate out the character for rigging because I had access to photoshop. I didn't mind this as it gave me the opportunity to do it for myself and see how I got on. in order to help me do this and to save some time I asked Ben if he could do out a drawing of Lee in a threequarters view. I would then just be able to go over this in photoshop and not have to draw it all out myself. Ben did this and I think it turned out well.
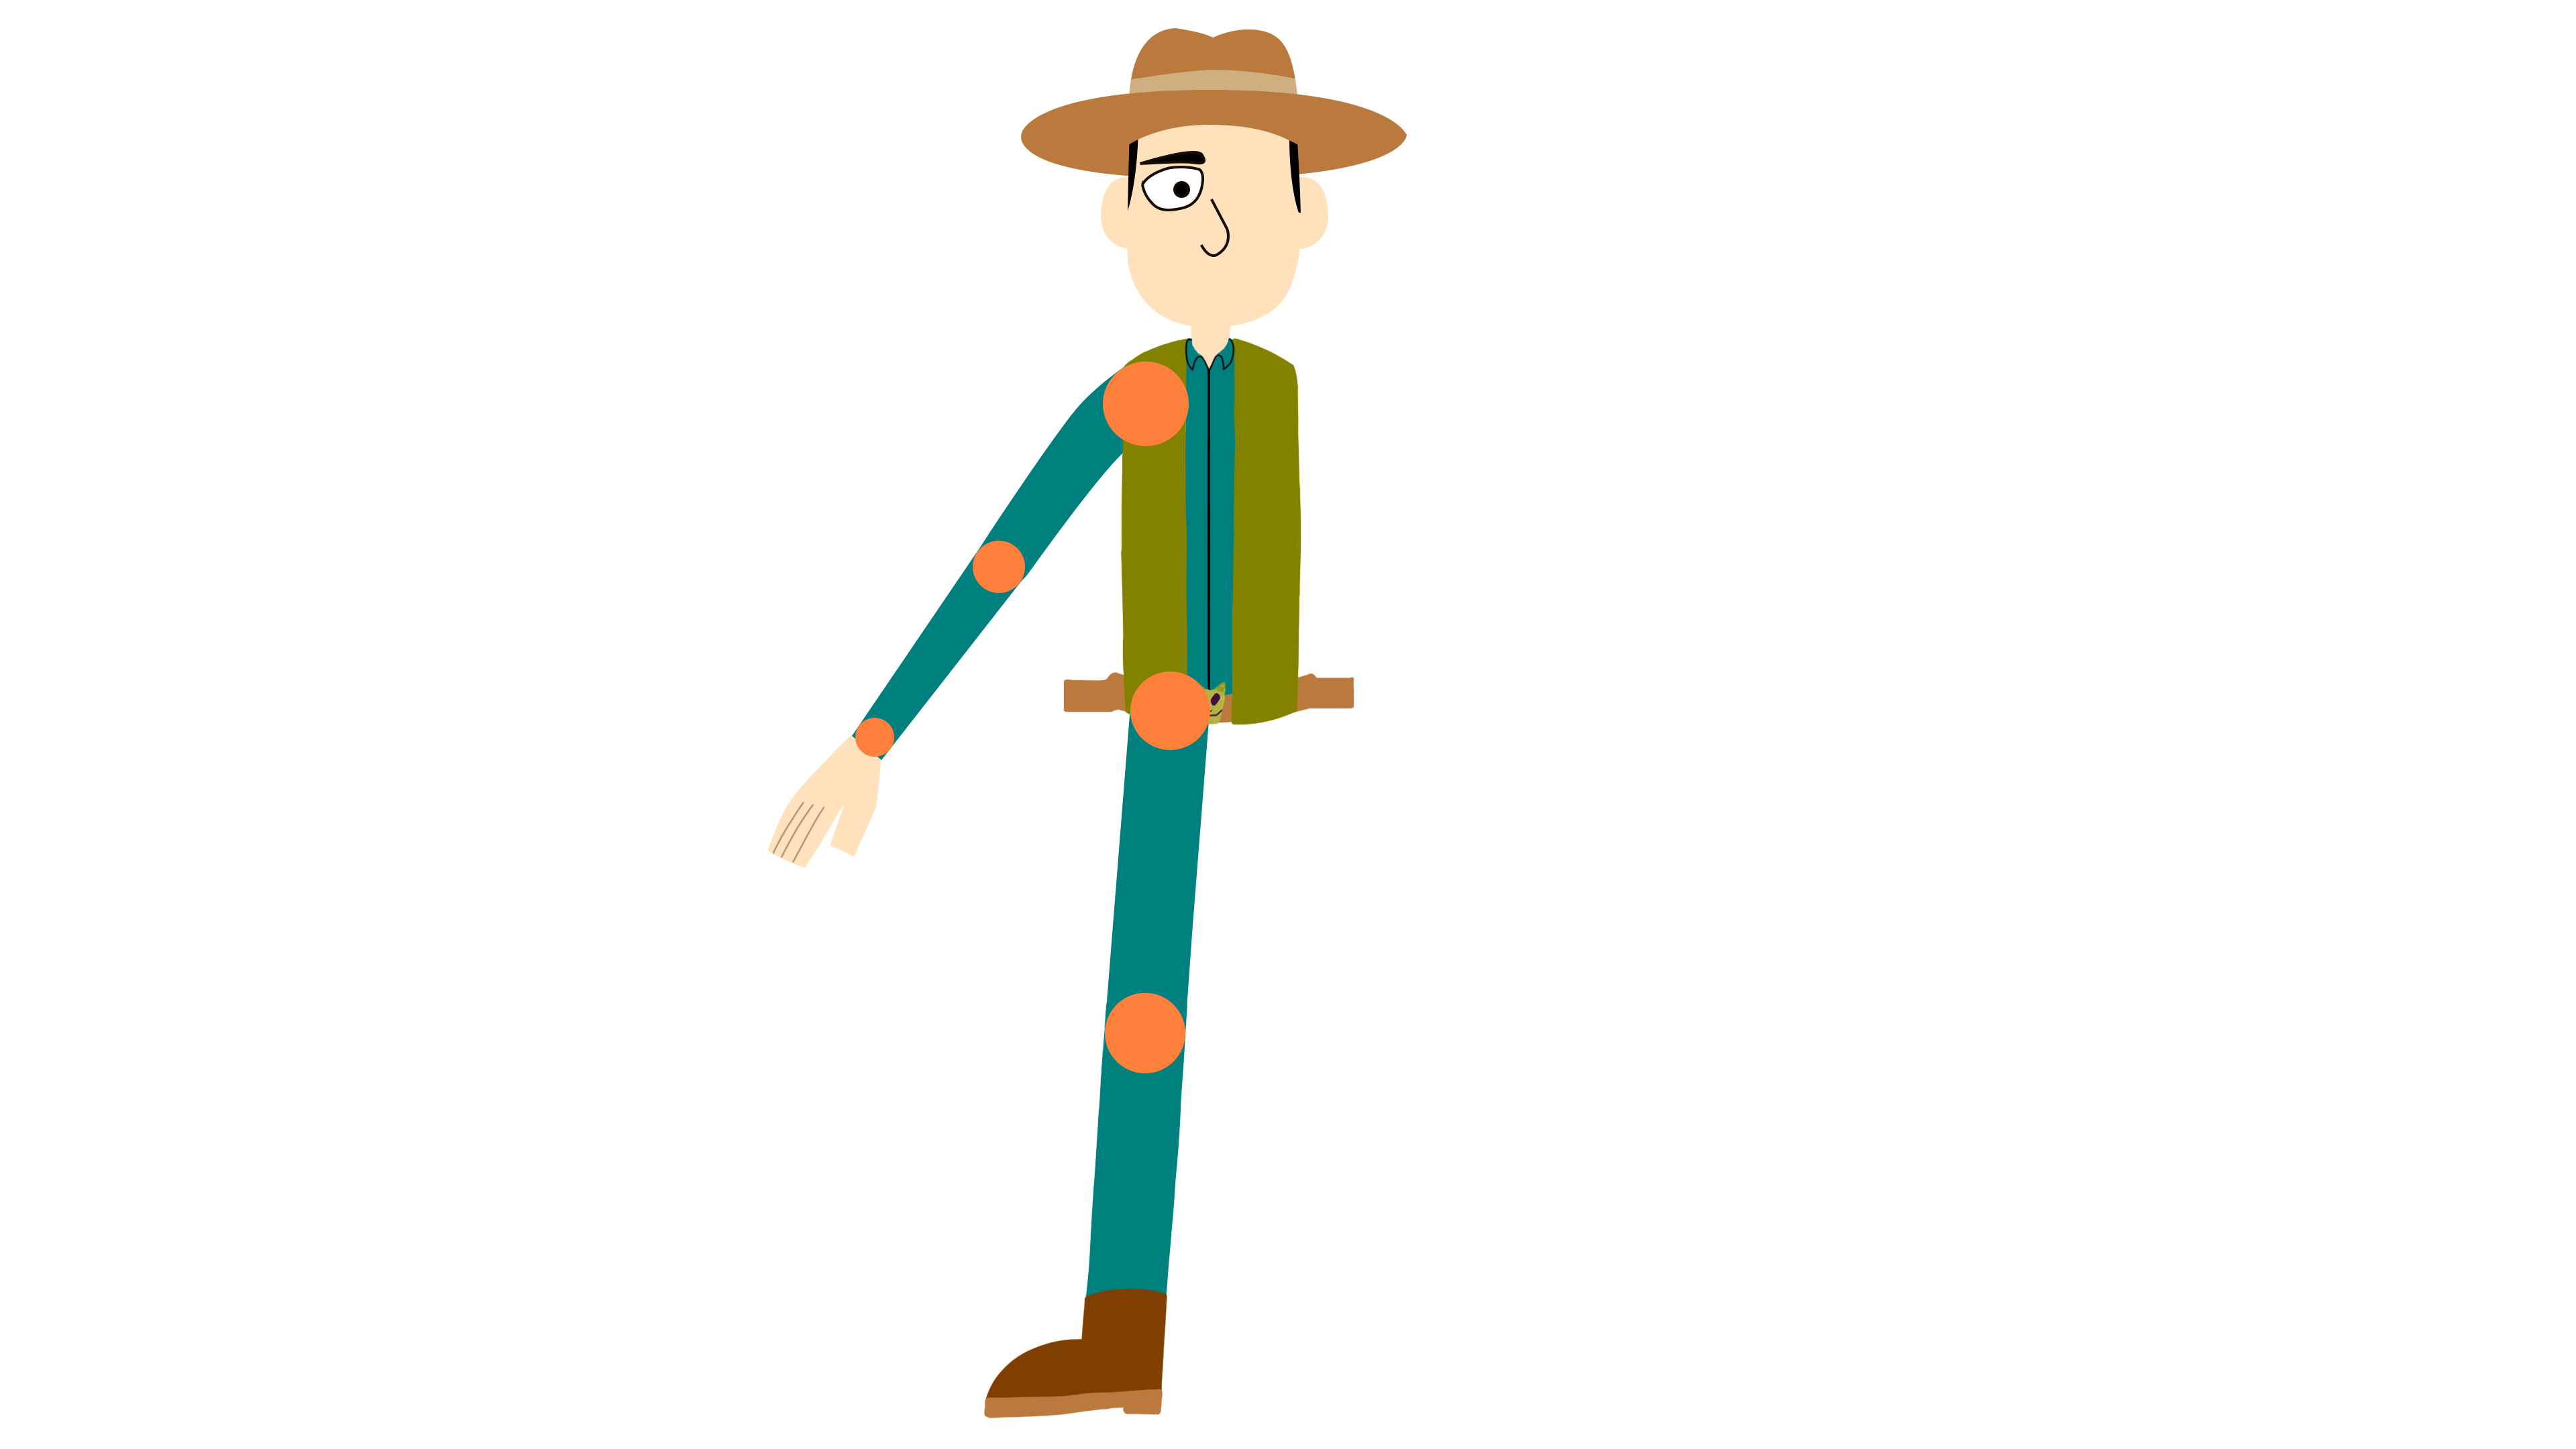
I then went into photoshop and recreated the character. It wasn't too hard as I only needed to create one arm and one leg as these could just be duplicated. The most annoying part was remember to create a new layer every time I was making a new part. Multiple times I forgot and ended up with parts joined on the same layer which I had to go back and fix. I used Jamie's method of adding Circle shapes on to each of the joints. This is to help later in After Effects as it allows the bones to be auto clicked into place exactly on the joints. I then also did this exact same thing out for the three quarter view of Lee.

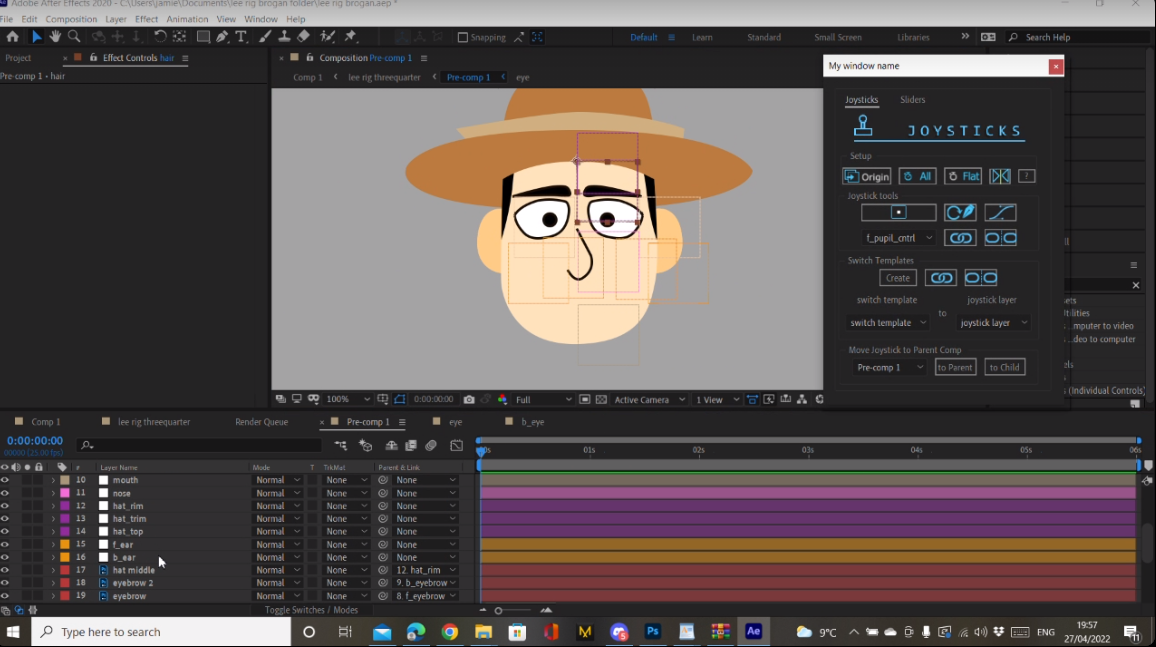
Jamie then gave me some really useful feedback on my photoshop document. Most of it was on the shapes of my objects. For example the hair should be made a lot larger and not put into a clipping mask. This because when taken into photoshopped it can be masked and then as the head rotates this extra hair can be moved to make the rotation look more realistic. Jamie's tips were really helpful and I was able to go back and make the changes he recommended.
Jamie recommended us some really useful tutorials for rigging in after effects. The one I got the most use out of was the full Body rigging tutorial by Keyframe academy. I used it to rig up my character which I will show below. Jamie also recommended us a few plugins to use inside after effects. These were Duik and Joysticks and Slider. Both of these plugins were really useful and made the rigging process a lot easier.
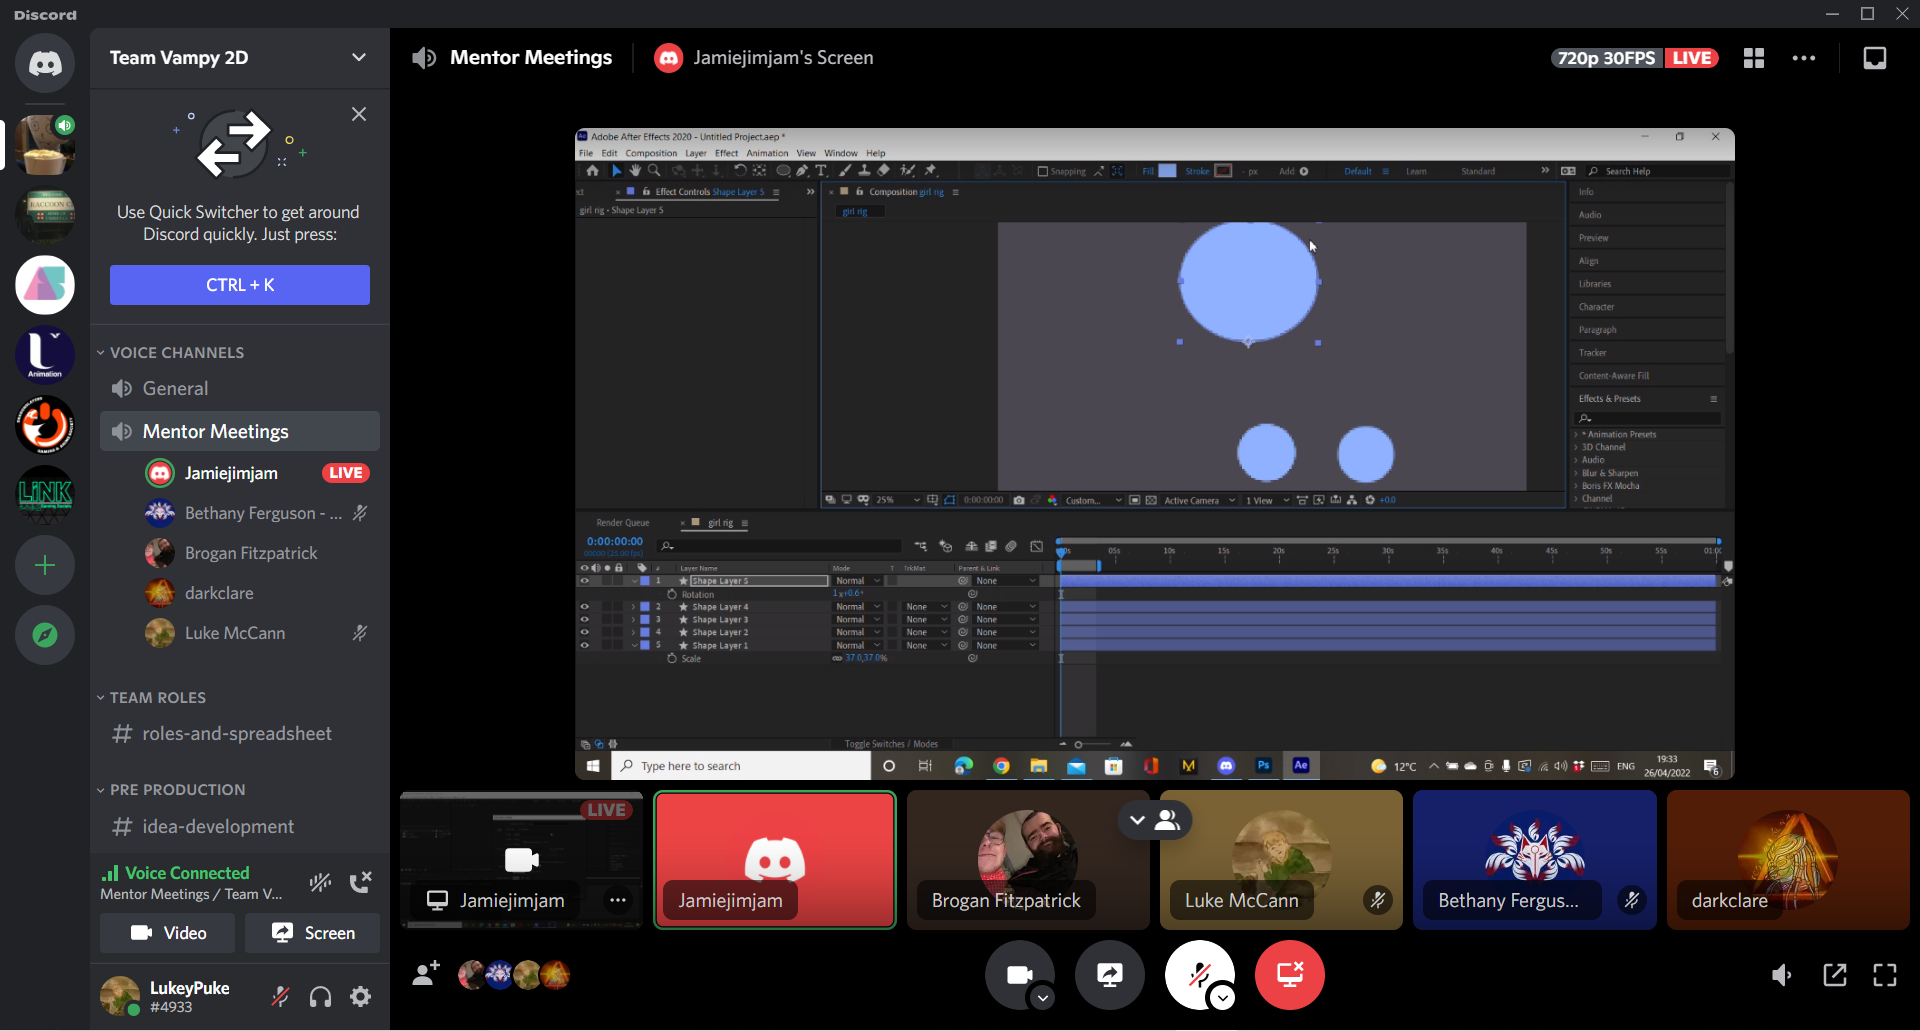
Some members of the group had never used after effects before so Jamie gave us a quick tutorial on how to use the basic interface. He showed us how to use a few of the different properties such as position and scale. Then following his instructions we created a simple bouncing ball animation using these properties. This was really useful for the after effects beginners in the group and I thank Jamie for taking the time to go over the basics for us.


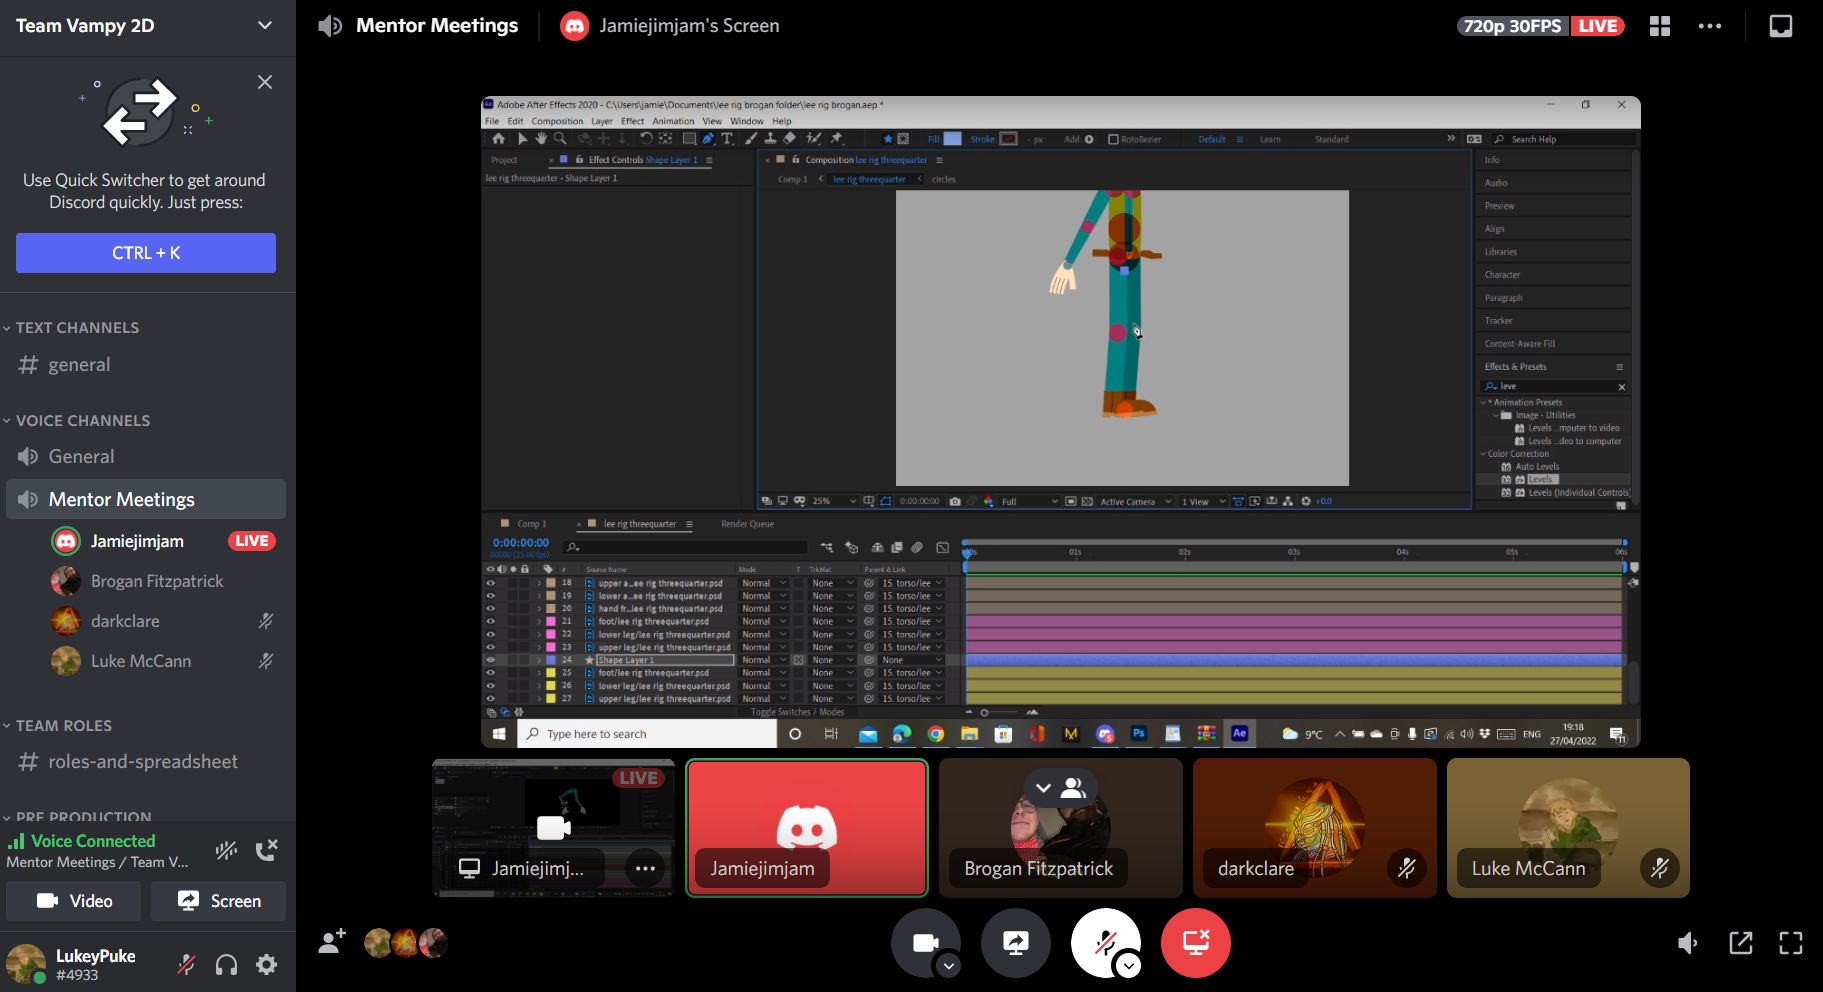
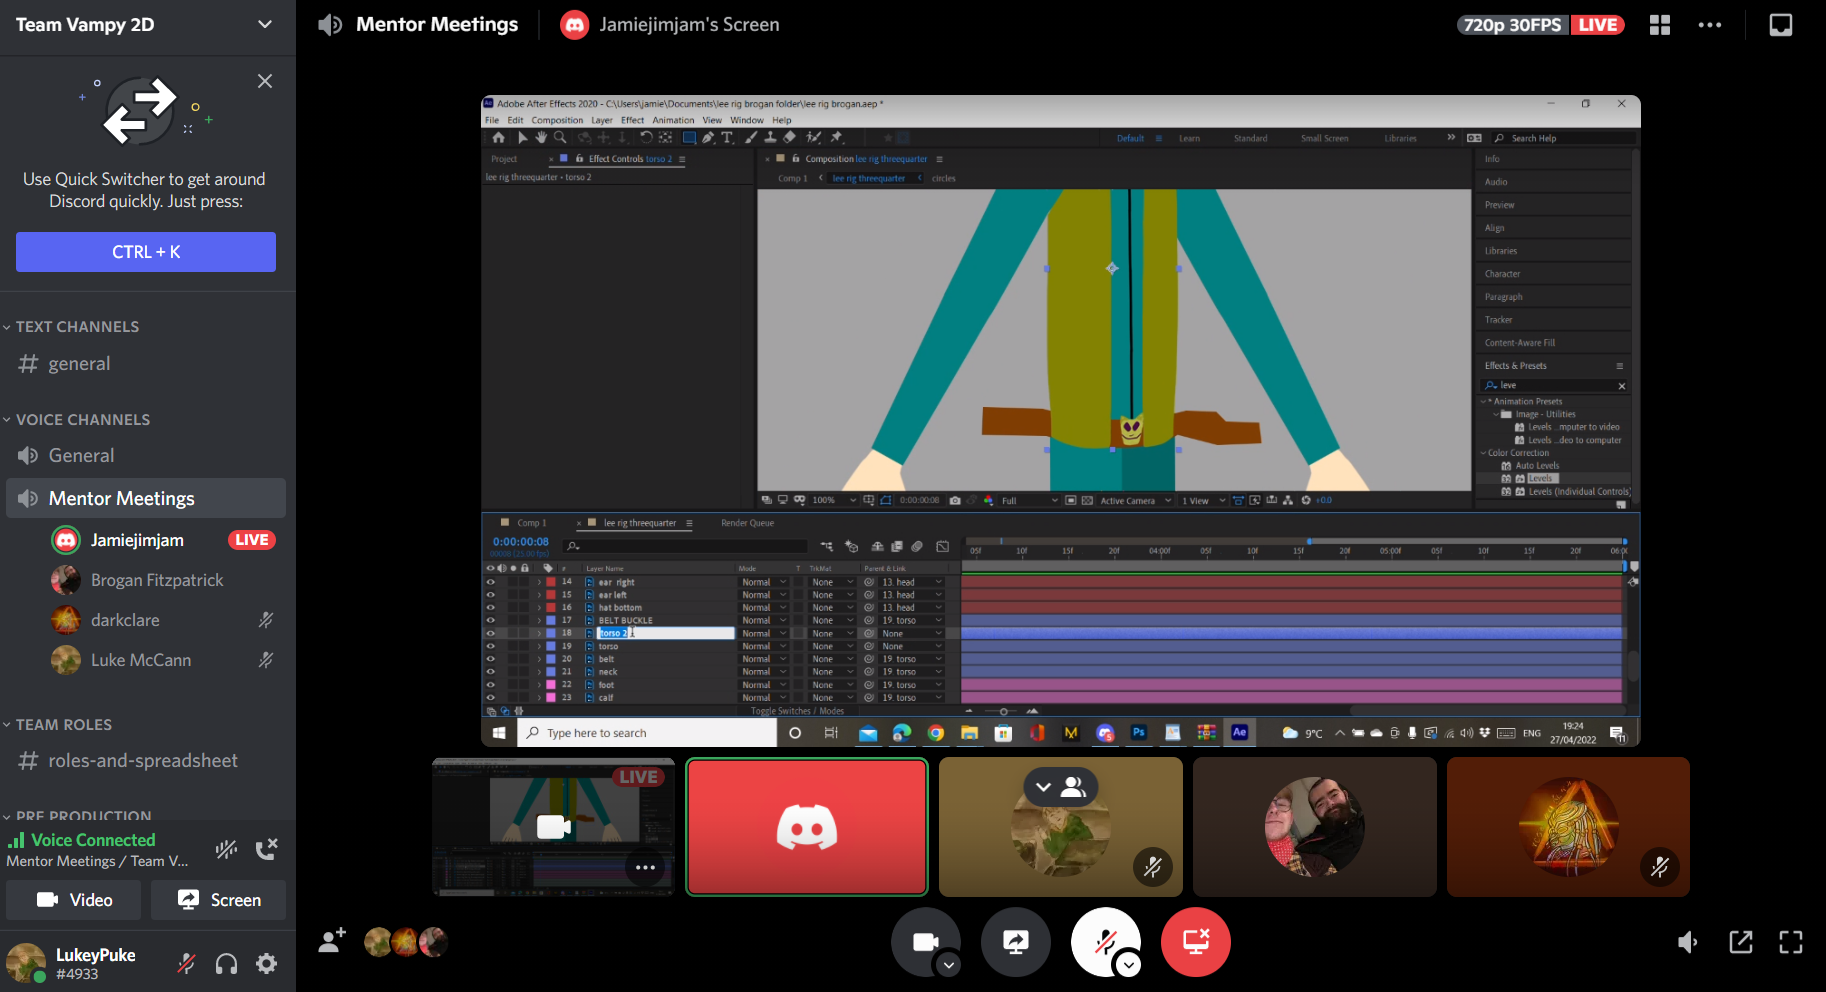

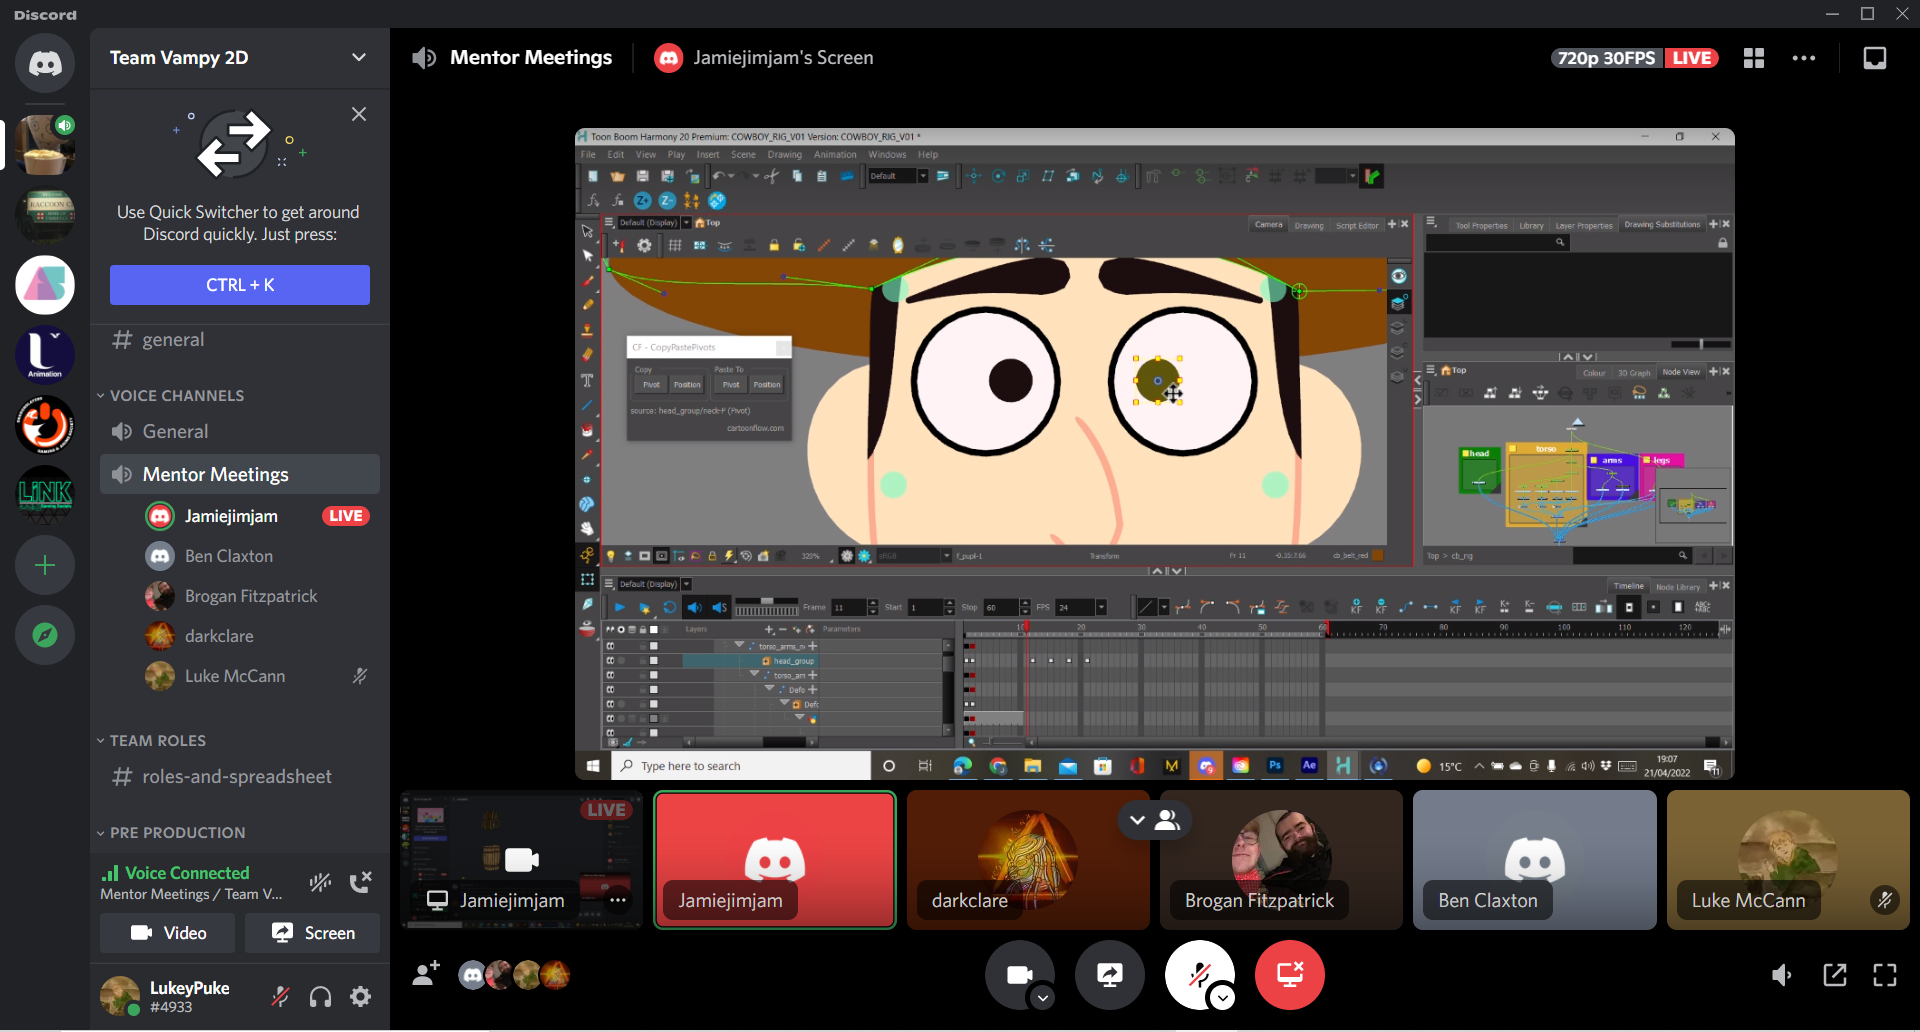
Jamie then took my separated out character into after effects and showed us the basic of the Duik program. He showed us how to create the Skeleton and connect it to the character. Jamie then went more in-depth showing us how to rotate the head and to create masks for the hair and belt. Overall I found this tutorial really interesting, there was a lot to take it but after effects definitely seemed a lot easier to use than ToonBoom for rigging and in the future I think I will be using it instead.
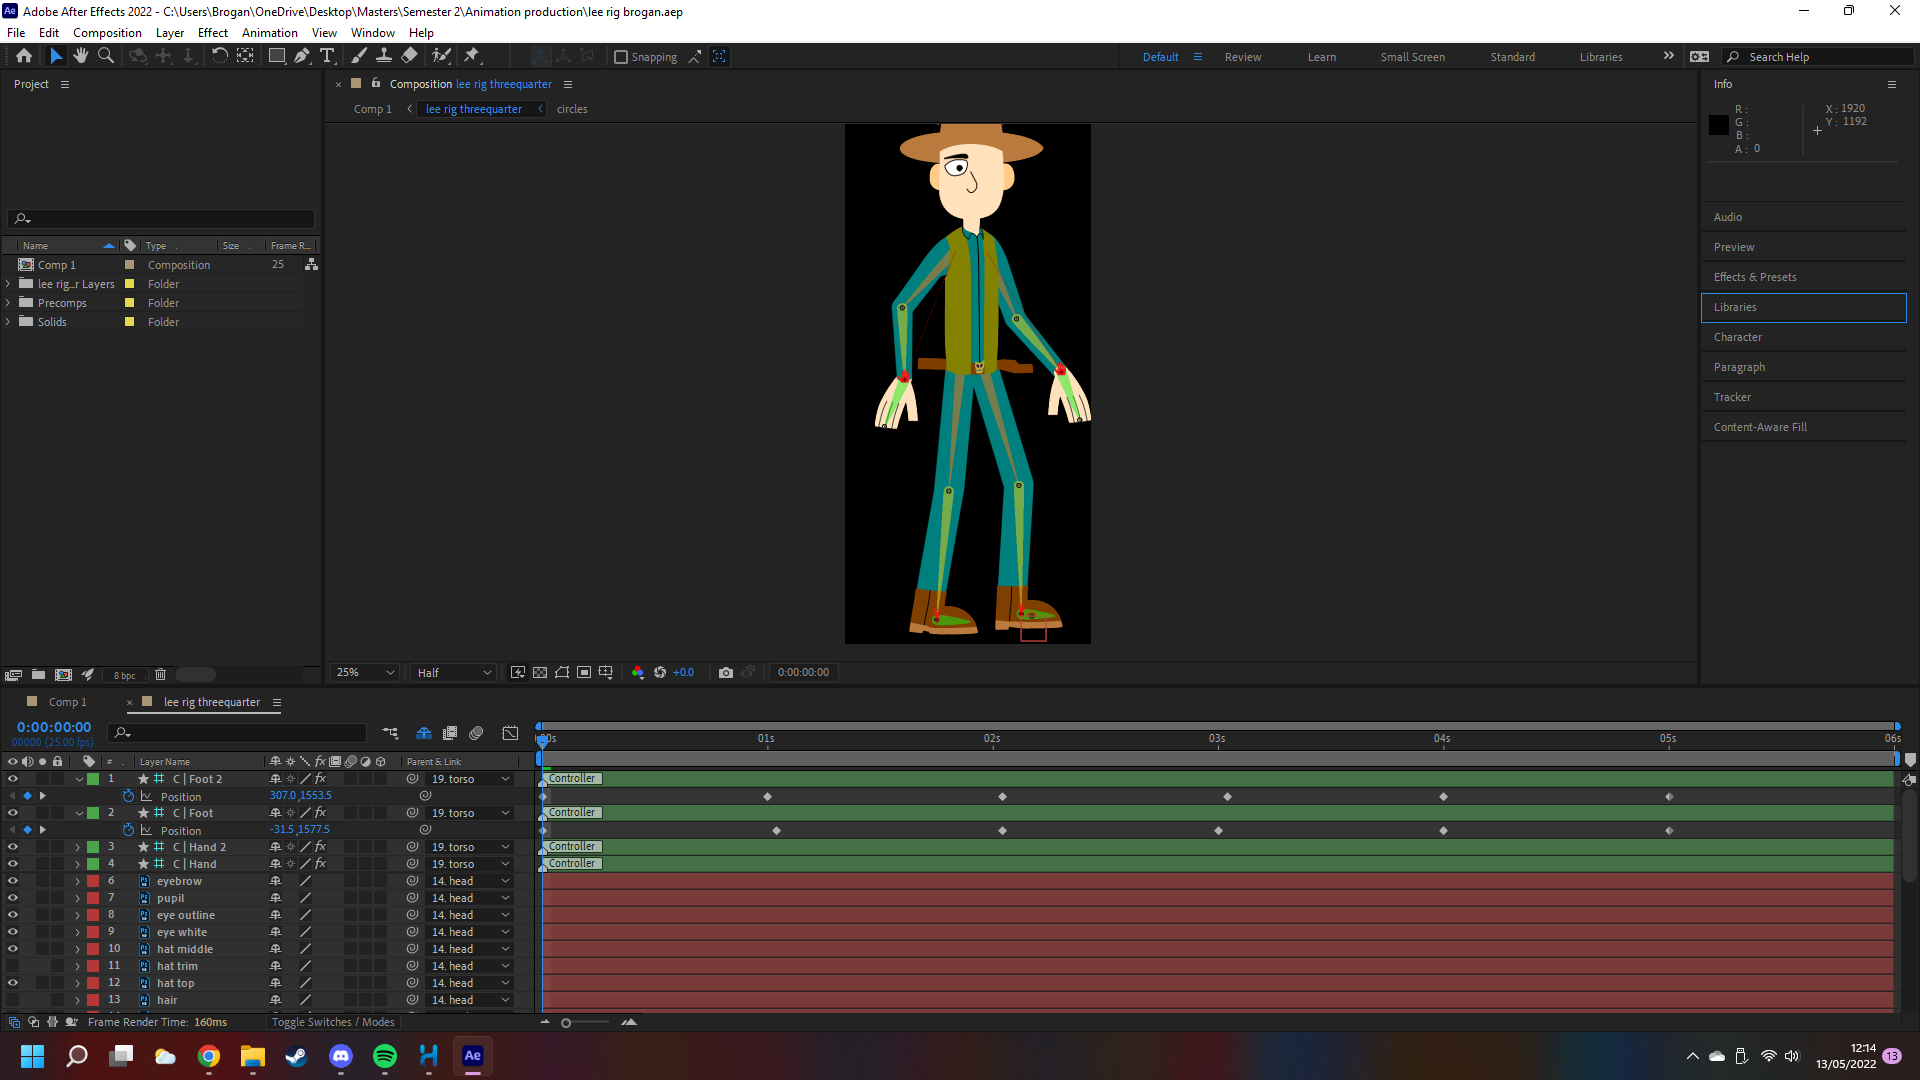
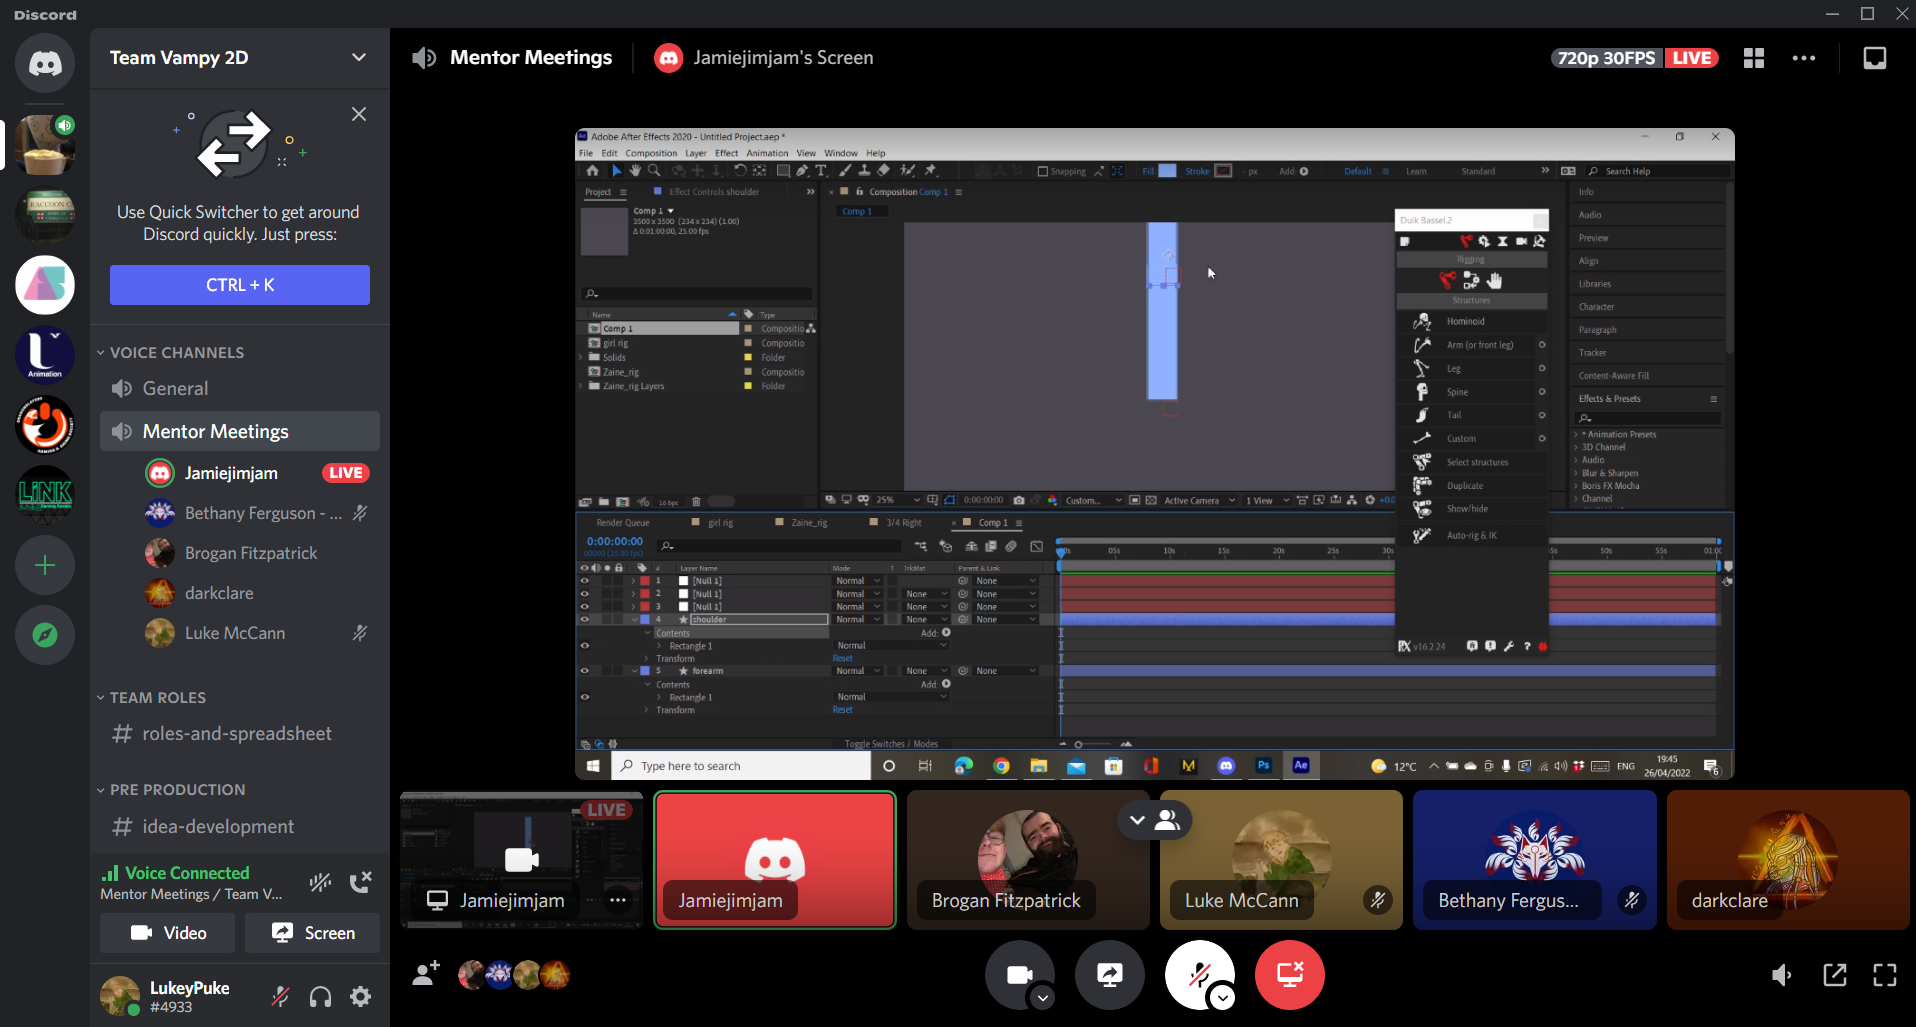
I then took the separated out character into after effects and rigged him up using Duik. This was a bit tricky as it was my first time placing the pivot points in the correct place but I got there in the end. The skeleton Duik creates has a few extra points on the hands and feet that can be used on more complex rigs however I did not need these at the time. I didn't really know what to do with them so that was a bit confusing but I just decided to delete them so they weren't on my screen anymore. this didn't seem to have any affect on my rig so it worked out well.
Once I had my character all rigged up and ready to be animated I tried to create a basic animation. I just wanted to move the limbs around and see how it worked. I ran into a few different problems within my rig, such as the feet not bending and the shoulders moving out of place compared to the torso. These are problem I will look to fix in the future and I will be sure to ask Jamie's opinion on how to fix them.
Overall I am pretty happy with how my rig turned out since it was my first attempt. As I said I only did this because I was interested in learning how to rig, not because I was doing it for the project. However I was happy to help the other group members when it came to separating out the body parts, I believe this weas a big help to them when they were trying to do there own rigging.
My animations a bit janky for the most part and it kind of looks like he is Crip walking lol. But Jamie said for a first attempt it was really good, he even thought the leg movements was a default option you can implement within after effects, which was a big complement because I animated them myself.
Rigging is definitely something I want to look at again in the future. It is really difficult and complicated but I think that you would be able to create some really interesting animations within and it opens up a whole new side to animation I am only beginning to attempt. If I have any questions in the future I will be sure to direct them to Jamie and I thank him greatly for his help on this project.